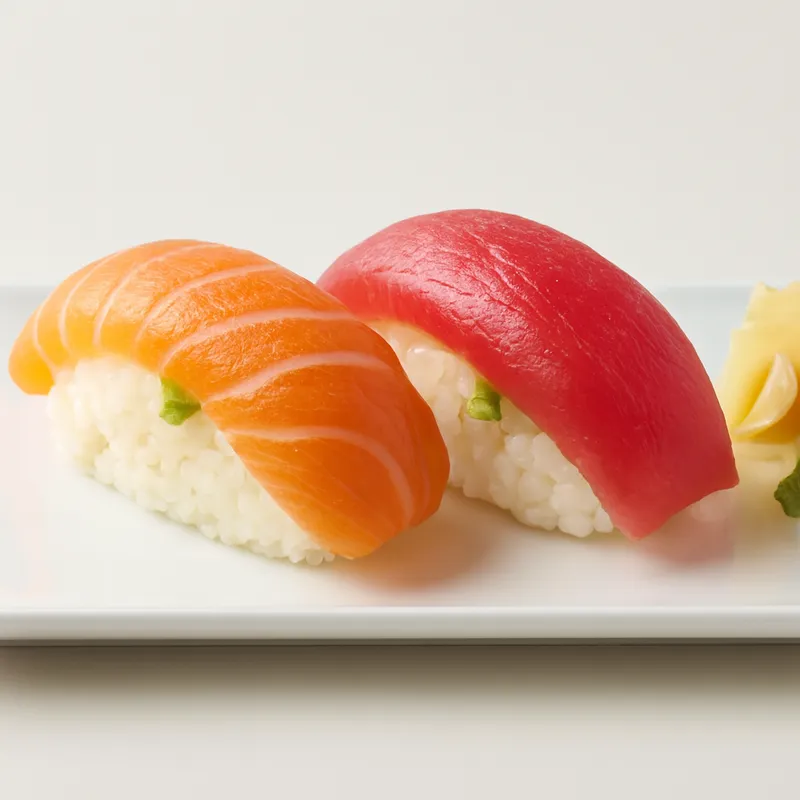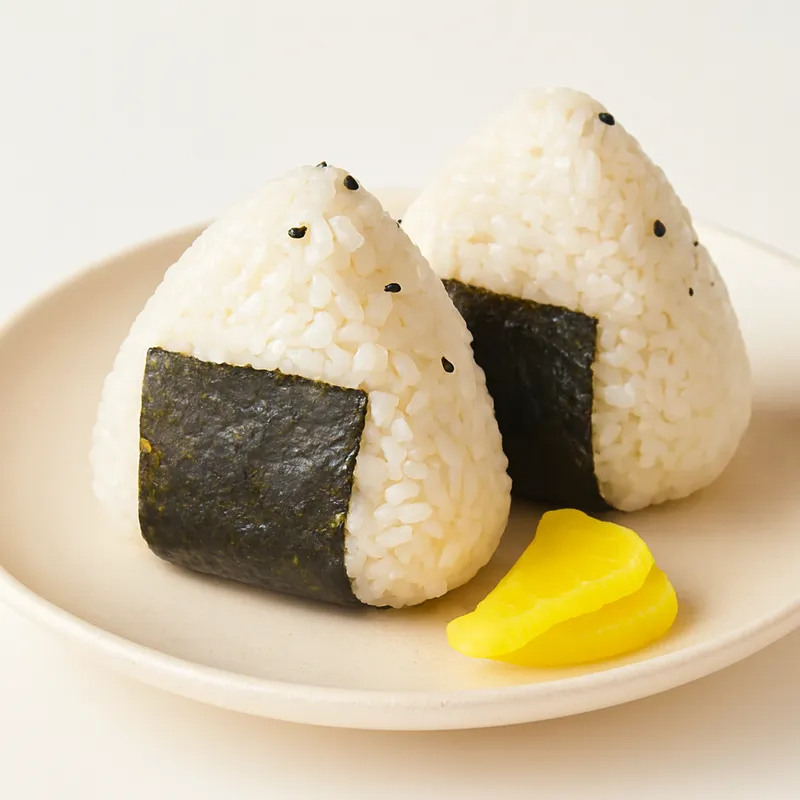
Japanese rice balls shaped by hand, often filled with umeboshi, salmon, or tuna and wrapped in nori.


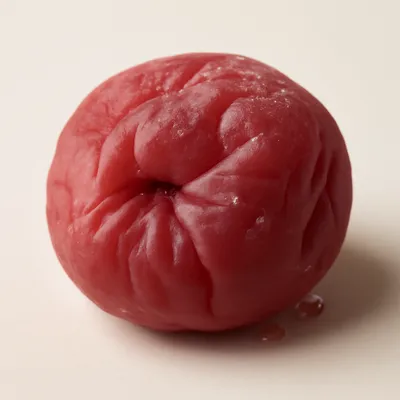
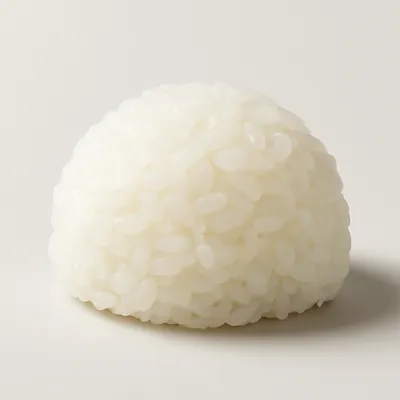

Rice balls appear in Japanese records as early as the Yayoi period, but the modern onigiri shape — triangle, salted, nori-wrapped — was standardized in Heian-era court rations (around 1000 AD) and Kamakura-era samurai field food. The umeboshi filling is functional history: the antibacterial citric acid kept rice safe in pre-refrigeration travel. Konbini onigiri with the pull-tab nori wrapper was invented in 1978 by Seven-Eleven Japan.
Heian-era field food, the rice ball predates sushi by centuries. Salt on the palms, nori applied at eat-time so it stays crisp — convenience-store onigiri use a plastic divider precisely for this.
A triangle or oval of warm white rice, lightly salted on the outside, hand-pressed firm enough to hold but loose enough that it crumbles in the mouth. A pocket of filling — pickled umeboshi, salted salmon flake, tuna mayo, kombu — sits in the center. A strip of nori wraps the bottom, kept dry until eating so it stays crisp against the rice.
The press is the whole skill. Squeeze too tight and the rice compacts into a paste; too loose and it falls apart in your hand. The classic technique uses wet salted hands and three pressing rotations — fingertips form the corners, palm flattens the faces, salt embeds at the surface. Use freshly cooked short-grain rice while still hot; cold rice won't bind, and long-grain has no stickiness to hold shape.
Variations
Salt-rubbed plain (shio musubi) is the original; umeboshi, salmon, kombu-tsukudani, and tarako are the convenience-store staples; yaki-onigiri brushes the outside with shoyu and grills it; Okinawan pork-egg version uses Spam.
On the Palate
Where Onigiri sits in the Japanese flavor cloud
Nail the pressure of the press: firm enough to hold a triangle, loose enough that it still crumbles gently in the mouth — over-squeeze and the rice turns to a dense paste.
Ingredients

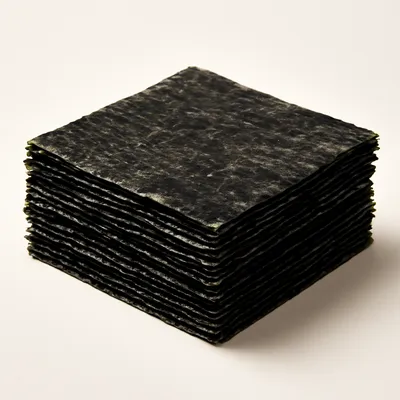
How it's made
5 steps · 37 min
- 120 min
Cook the Japonica rice according to package instructions until soft and sticky. Allow it to cool slightly until warm to the touch.
Watch outLet the rice drop from hot to just warm — still steamy but cool enough to touch; too hot burns your hands, cold won't bind.
- 25 min
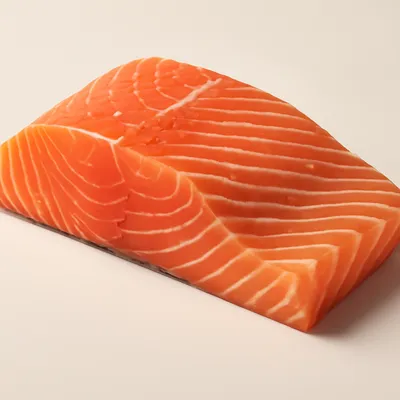
Flake the cooked salmon into small pieces. Season with sesame seeds for added flavor and texture.
- 35 min
With damp hands, take a small handful of rice and form a ball. Make an indentation in the center, filling it with salmon.
Watch outDampen and salt your palms first; the rice should feel tacky and hold together but not smear into paste.
- 45 min
Mold the rice into a triangular or cylindrical shape, ensuring the filling is completely enclosed. Wrap a strip of nori around the rice ball.
Watch outPress only three light rotations to set the triangle; you want defined corners with the grains still visible, not a compacted brick.
- 52 min
Serve the onigiri at room temperature, perfect for a portable snack or meal.
Archive tool suggestions — not reviewed
These legacy suggestions have not been evidence-reviewed and are not presented as required tools.

An electric pot with a thermostat that switches off the moment internal temperature exceeds 100°C — meaning the moment all free water has boiled off. Add rinsed rice and water (1:1.2 by volume for short-grain), press start; 25 minutes later it sits in warming mode and stays at 65°C all day. The fuzzy-logic Japanese versions (Zojirushi, Tiger) cook brown rice, sushi rice, and porridge with separate algorithms for each.

A flat wooden paddle, 18-22 cm long, used to scoop and turn rice. The flat broad face cuts and folds rice without crushing the grains — essential when mixing seasoned vinegar into sushi rice (the cut-and-fold motion preserves the grain integrity). Wet the paddle in cold water before use so rice doesn't stick. Lacquered cypress is the traditional material; modern ones are often dimpled plastic to reduce sticking.