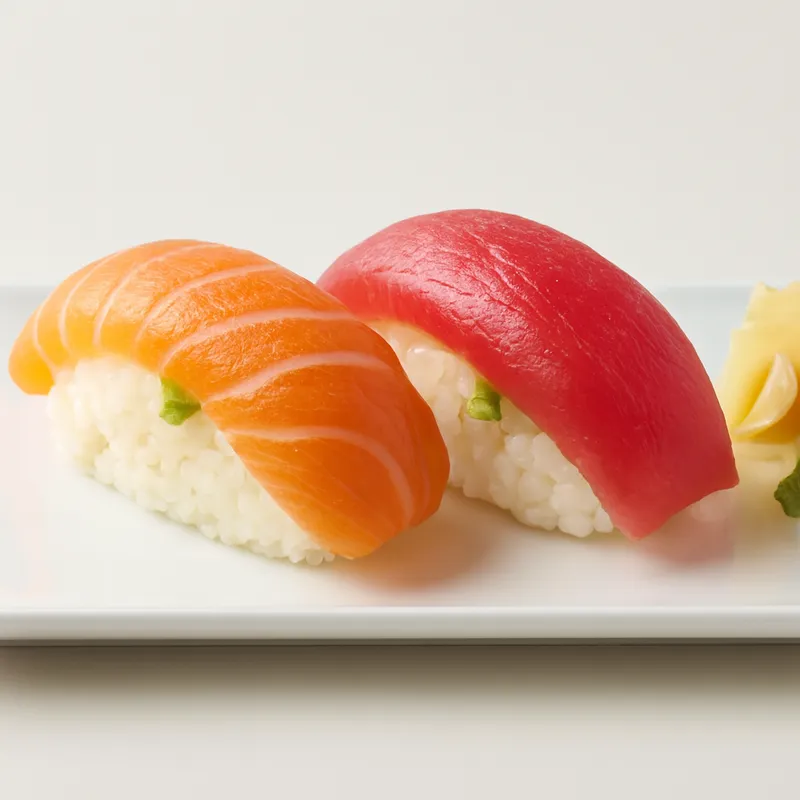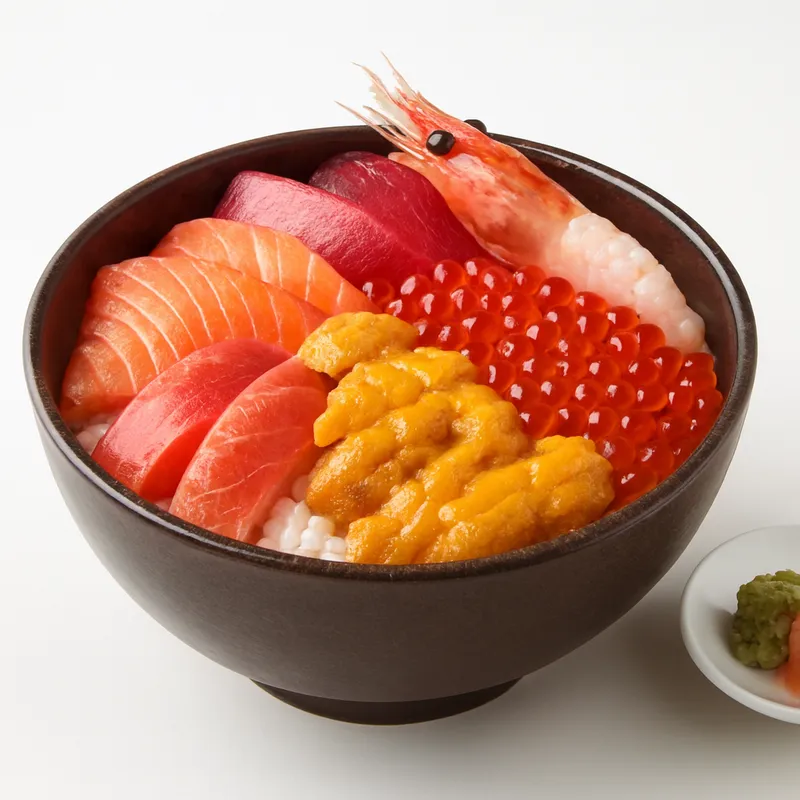

Chirashi (literally 'scattered') developed in Edo-period Tokyo as a casual home alternative to formed nigiri — same vinegared rice, same fresh fish, but assembled in a bowl rather than pressed by hand. The Kanto style keeps raw sashimi on top; Kansai versions (bara-zushi) mix cooked and pickled toppings into the rice itself. It became a Hinamatsuri and household celebration dish in the early 20th century.
Edomae's deconstructed nigiri — same vinegared rice, same fish, no hand-pressing. Bara-chirashi dices everything; gomoku-chirashi is the cooked-toppings home version.
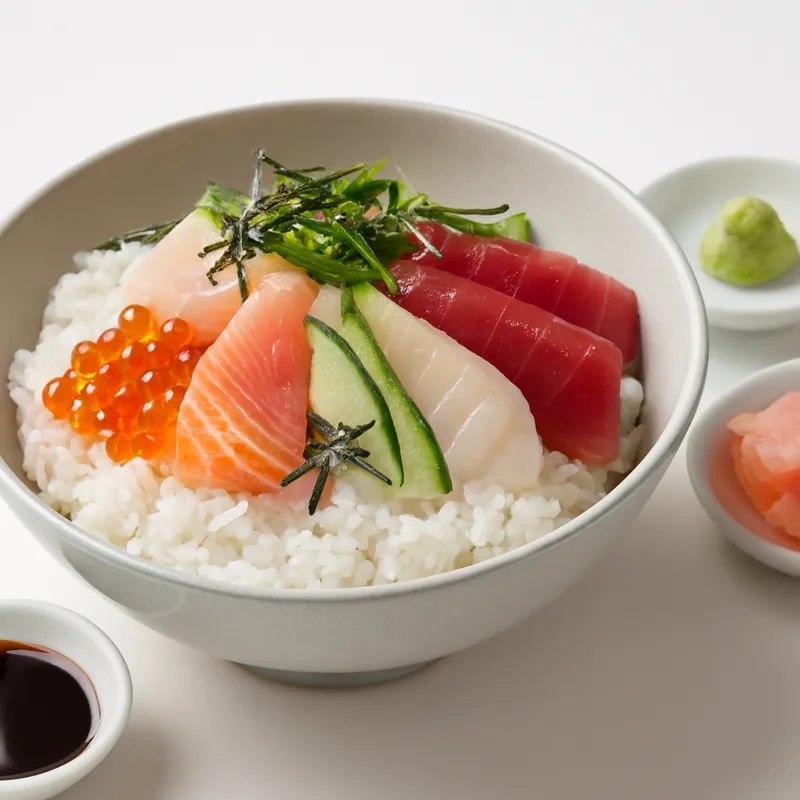
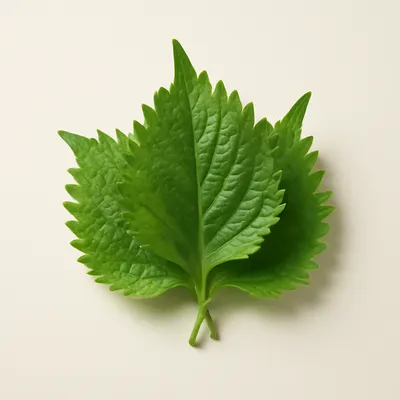
A wide lacquer or ceramic bowl: pearl-white vinegared rice underneath, ten or so slices of raw fish fanned across the top — tuna, salmon, yellowtail, shrimp, ikura, tamago strips, shiso. Soy goes in a side dish, not poured over. Each bite is one slice plus rice, picked up with chopsticks; the wasabi sits between fish and rice, not on top.
The rice does more work than people think. Shari (sushi rice) must be seasoned with rice vinegar, sugar, salt while still warm so each grain absorbs evenly, then cooled to body temperature — fish on hot rice cooks slightly and turns dull. Ratio matters: too little vinegar and it tastes like plain rice; too much and the rice fights the fish.
Variations
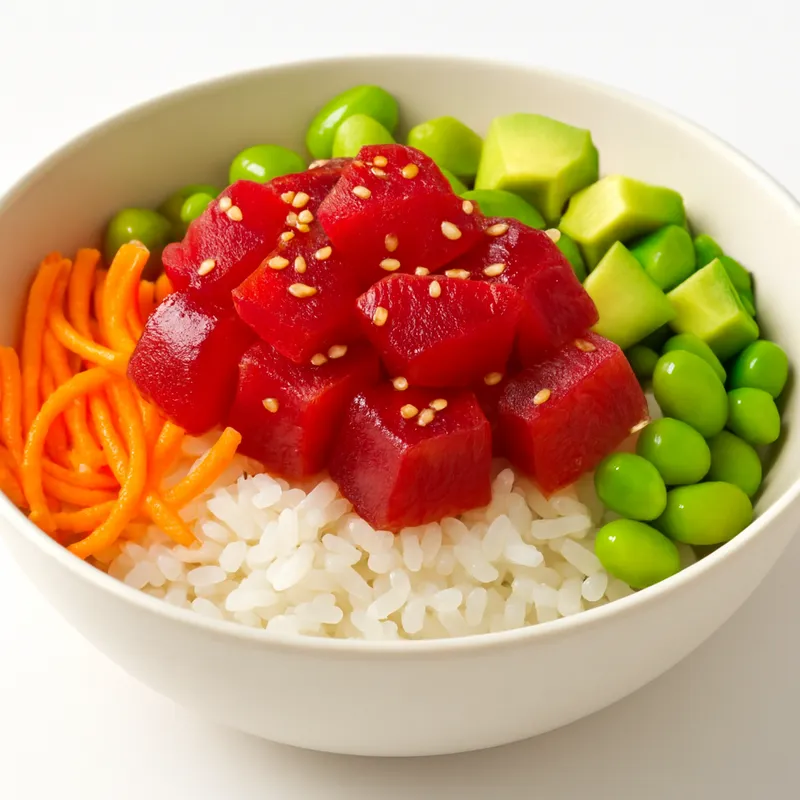
Edomae chirashi (sliced sashimi on top, soy-brushed); Kansai gomoku-chirashi (cooked vegetables, anago, kanpyo mixed in); bara-chirashi (everything diced, marinated in soy-mirin).
On the Palate
Where Chirashi Bowl sits in the Japanese flavor cloud
The bowl lives on the rice, not the fish: fold rice vinegar, sugar and salt (not soy sauce) into the rice while it's still warm so every grain drinks it evenly, then fan it down to body temperature before the fish goes on — hot rice half-cooks the sashimi and turns it dull and grey.
Ingredients





How it's made
5 steps · 50 min
- 120 min
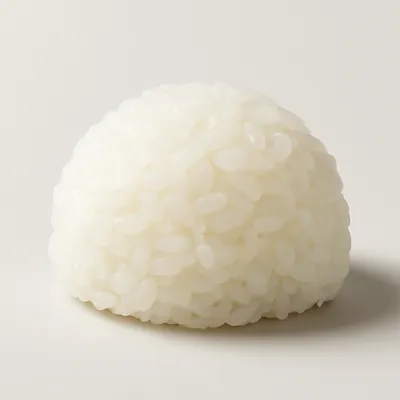
Rinse the sushi rice under cold water until the water runs clear. Cook it in a rice cooker or on the stovetop with the right amount of water until it's tender and fluffy.
Watch outRinse until the water runs clear, not cloudy — leftover surface starch makes the cooked rice gummy instead of separate and glossy.
- 210 min
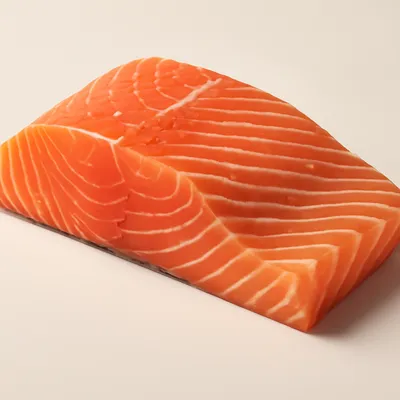
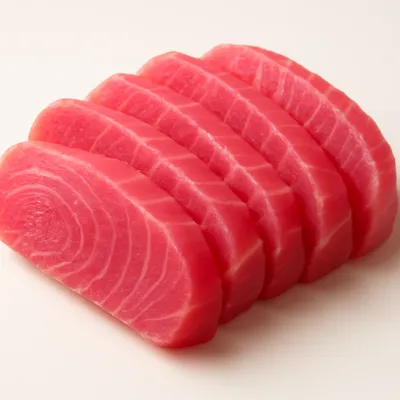
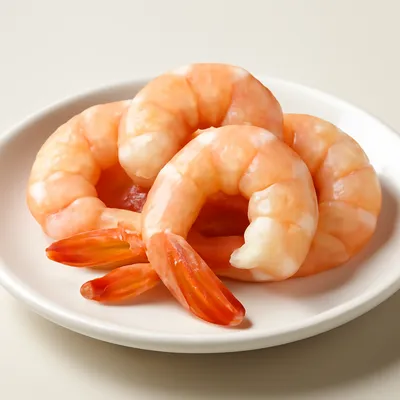
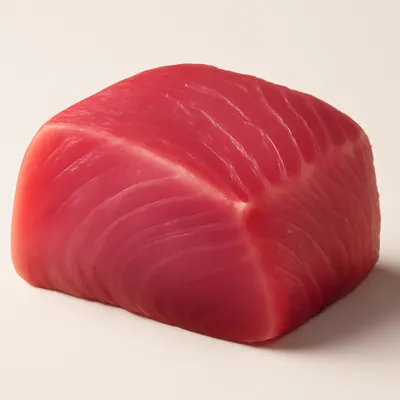
Slice the salmon, common tuna, and shrimp into thin, even pieces. Arrange them neatly on a plate and keep chilled until ready to serve.
- 35 min
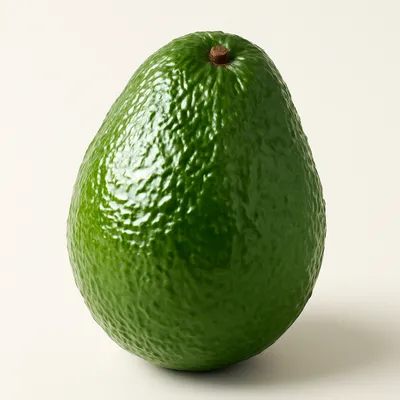
Peel and slice cucumber and avocado into thin, delicate slices. Set aside for assembly.
- 45 min
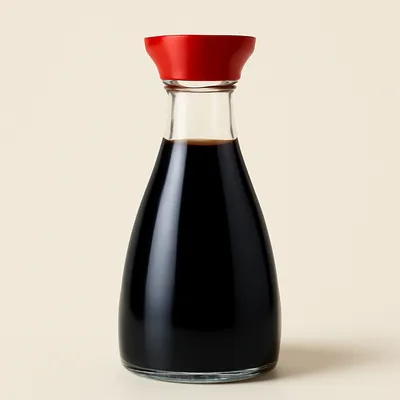
Once the rice is ready, let it cool slightly. Gently fold in a splash of soy sauce to season, being careful not to mash the grains.
Watch outCut and fold with a rice paddle in a slicing motion, never stir or mash — you're coating grains, and crushed rice turns to paste.
- 510 min
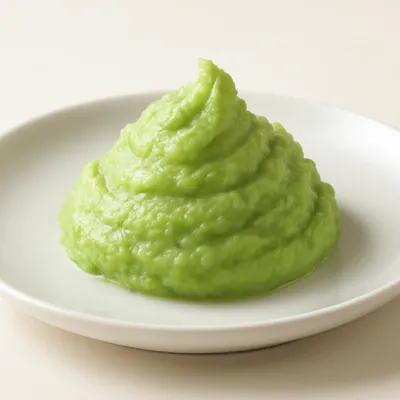
Arrange the seasoned rice in a bowl. Artistically layer the fish, vegetables, and nori strips on top. Serve with a side of wasabi and additional soy sauce for dipping.
Watch outArrange the fish just before serving — sashimi left sitting out warms and dries, losing its sheen and springy bite.
Archive tool suggestions — not reviewed
These legacy suggestions have not been evidence-reviewed and are not presented as required tools.

An electric pot with a thermostat that switches off the moment internal temperature exceeds 100°C — meaning the moment all free water has boiled off. Add rinsed rice and water (1:1.2 by volume for short-grain), press start; 25 minutes later it sits in warming mode and stays at 65°C all day. The fuzzy-logic Japanese versions (Zojirushi, Tiger) cook brown rice, sushi rice, and porridge with separate algorithms for each.

A flat wooden paddle, 18-22 cm long, used to scoop and turn rice. The flat broad face cuts and folds rice without crushing the grains — essential when mixing seasoned vinegar into sushi rice (the cut-and-fold motion preserves the grain integrity). Wet the paddle in cold water before use so rice doesn't stick. Lacquered cypress is the traditional material; modern ones are often dimpled plastic to reduce sticking.